Before I go into these builds, I’ll preface by saying I don’t have as much detailed documentation for my high-voltage projects, especially from 9th and 10th grade, but I do have a lot of stories to share-

I’ve been making coilguns for a while. My inspiration for building one was, quite funnily enough, because I read an old Popular Science article discussing launching spacecraft with linear motors. I thought that was crazy but fascinating-how would that work?-and following that curiosity led me to try creating a coilgun-this all spiraled from there. (Railguns would be closer to what the article mentioned, but I had no clue where I’d find proper rails to build one.) I learned about the principles behind this through experimenting-it uses an electromagnet to accelerate a projectile by switching a coil on and off. On-pulsing current through the coil-creates a magnetic field, which pulls the projectile-then, when the projectile nears the coil’s center, off-you switch it, and boom.

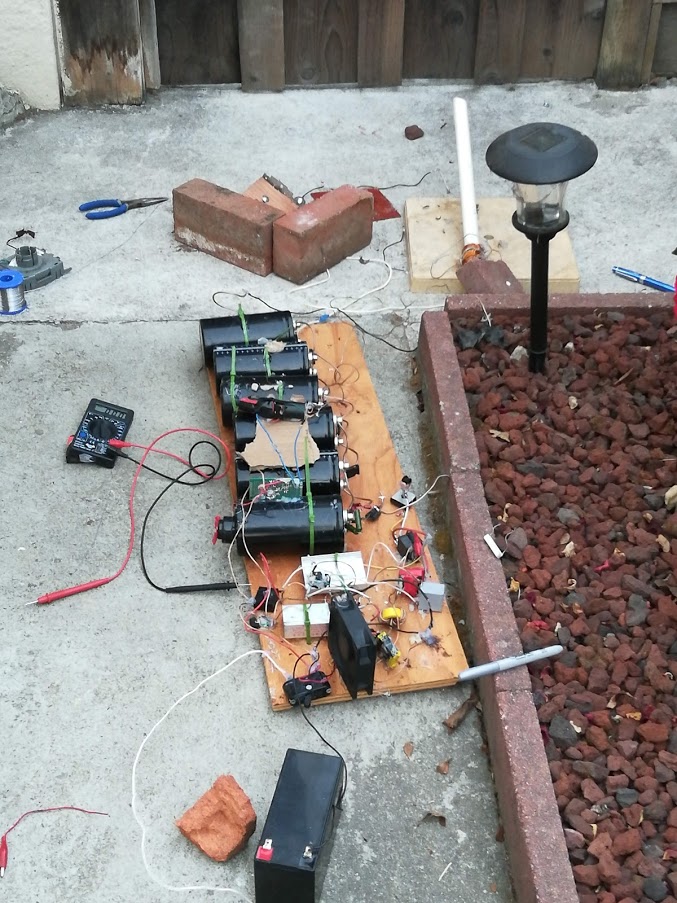
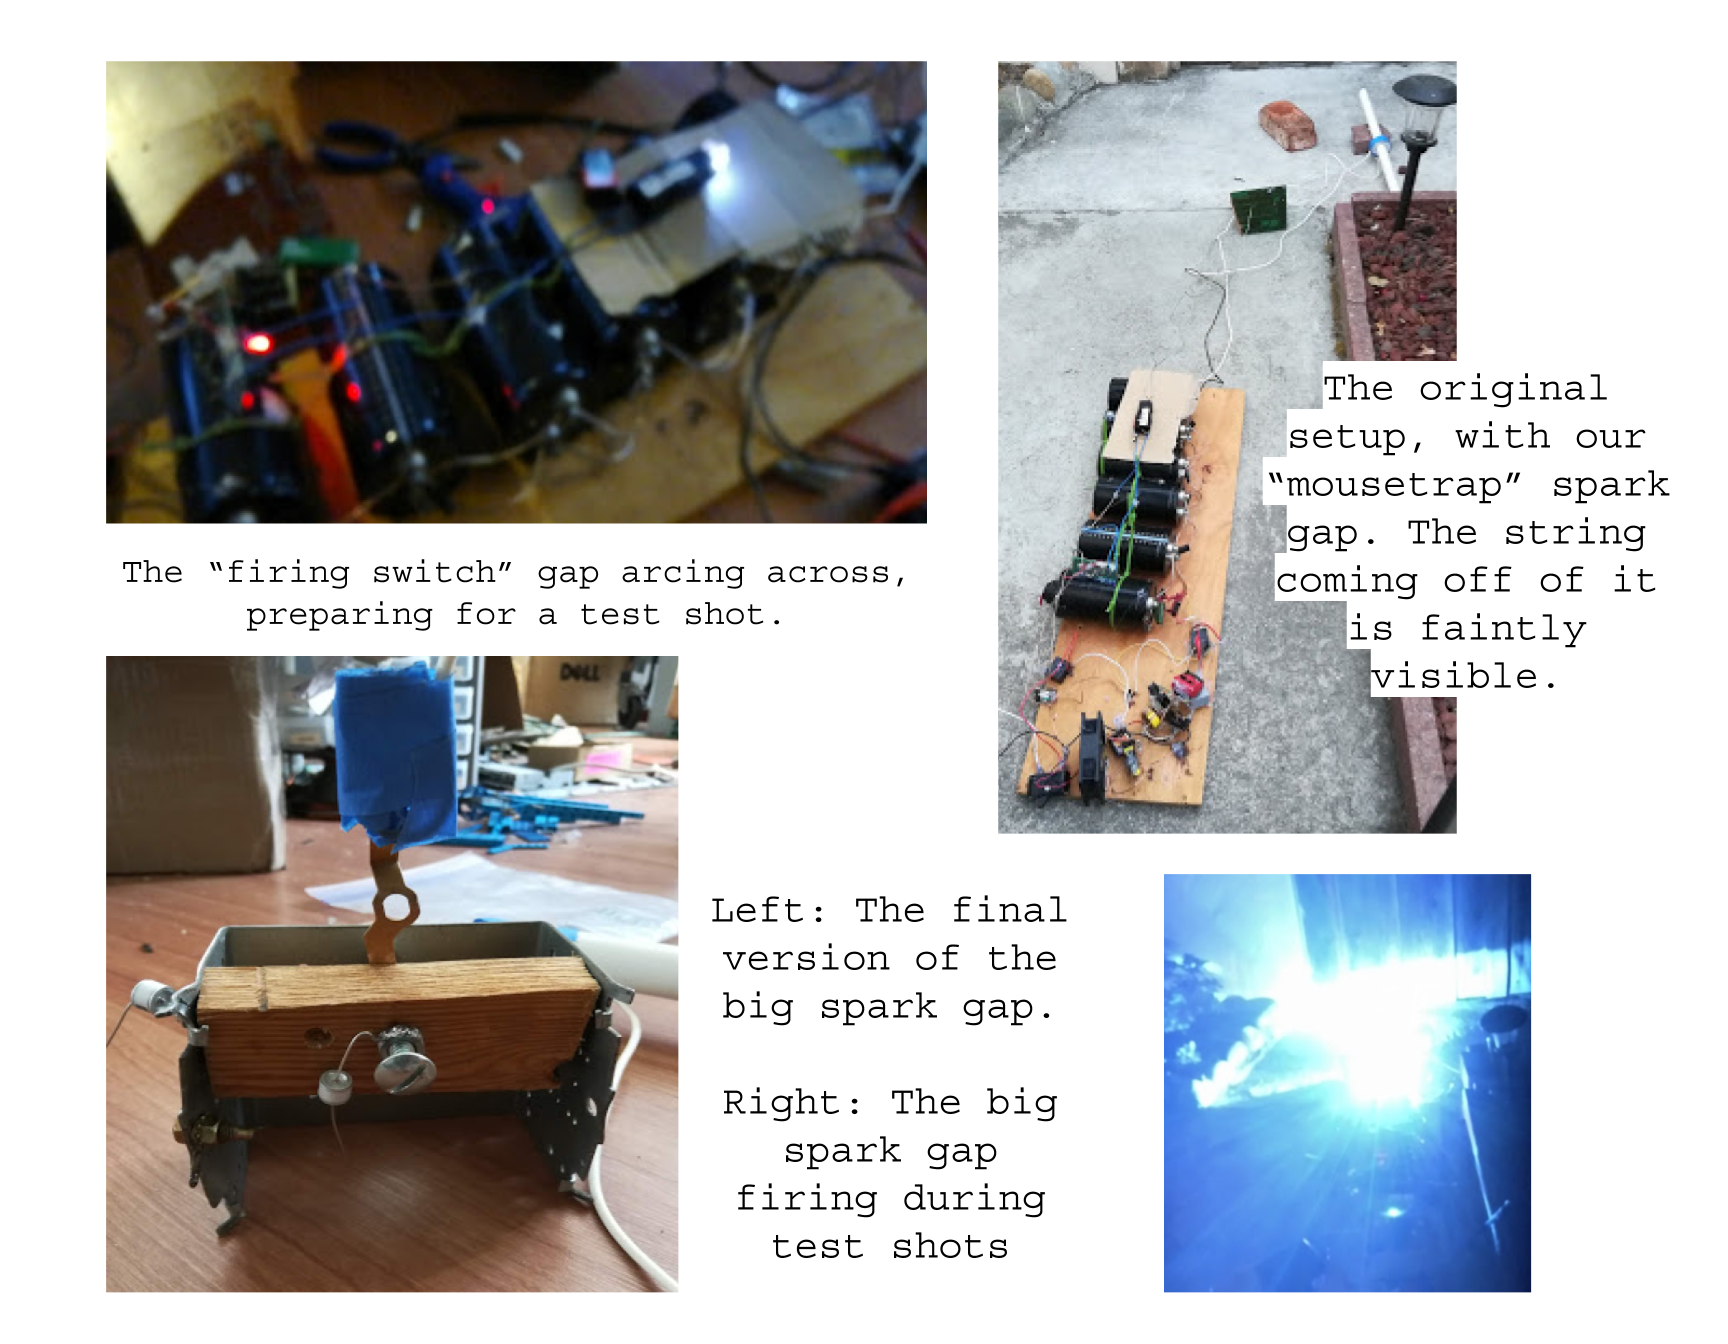
To switch and close the circuit, this design uses 2 spark gaps-one’s on top of the capacitor bank and serves as a “firing switch”, and the other, the one shielded by the brick, closes the circuit-this gap serves the same purpose as the silicon controlled rectifiers used in many coilgun designs. This gap handles a very large discharge when the coilgun fires, so it had to be able to withstand that repeatedly. We originally considered using 2 aluminum pieces close together with something separating them in the middle connected to a string, which could be pulled away from a distance, letting an arc jump to close the circuit-we called this the mousetrap switch. This didn’t work out very well-the switch was unreliable and awkward for us to try and control. We made a more solid solution, with a metal frame and adjustable screw serving as electrodes. This was also nice because we could now easily adjust the gap distance with the screw, and it ultimately performed really well.

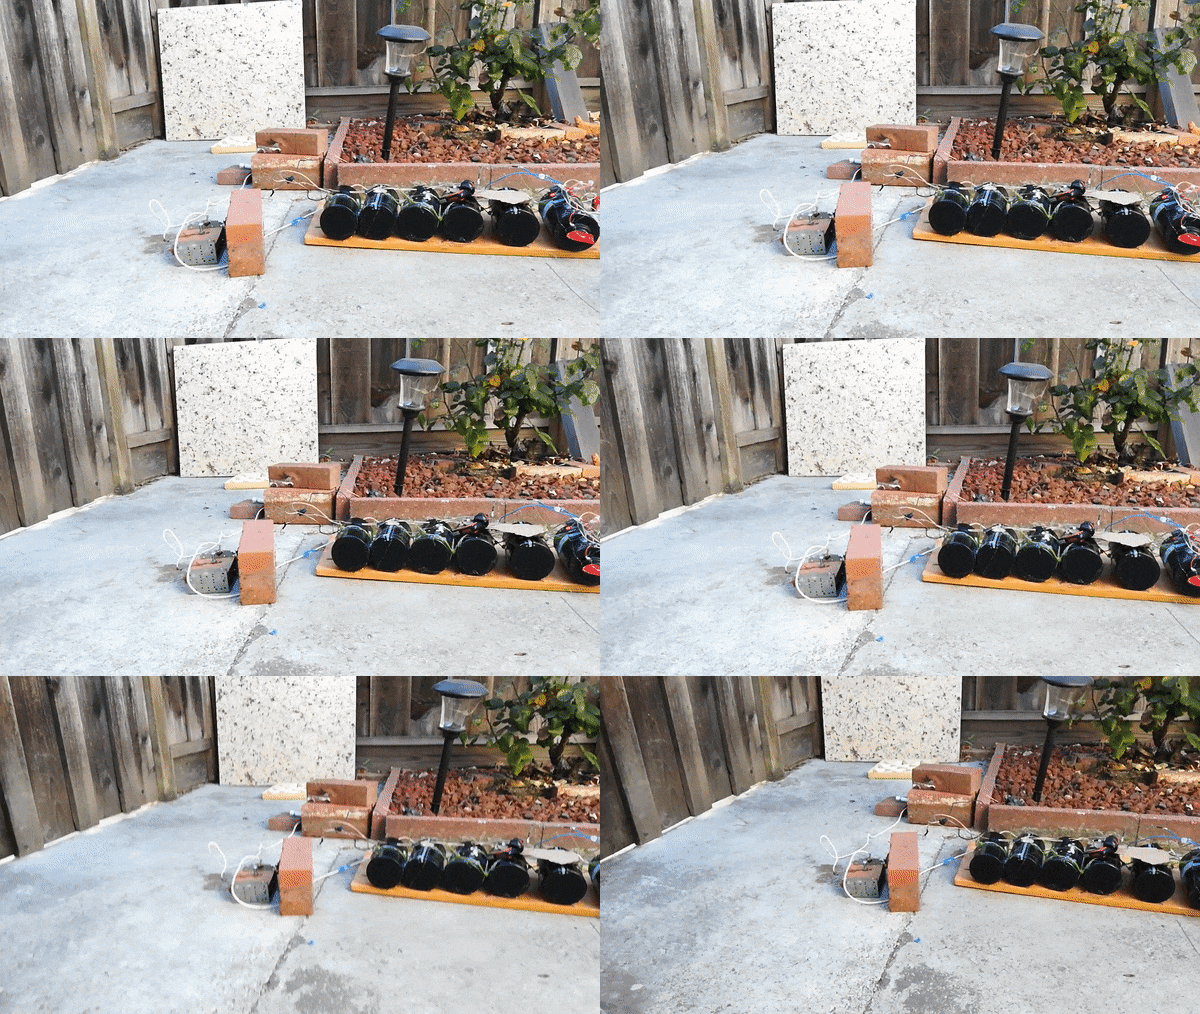
Showing off a little-here’s one of the early test shots we tried with this new spark gap! The capacitor bank wasn’t fully charged-I think we were going to around ¼ charged for the tests, but the nail can still be seen shooting out of the coilgun’s barrel. During testing, we had to make some adjustments to the coil as the projectile sometimes wasn’t launched all the way even with higher power, and the timing for the pulse was important as well.